

Looks like you don't have ESC button on your device
Download IronCAD DCS
Choose one of the following options
trial versionHas a license
Looks like you don't have ESC button on your device
Choose one of the following options
trial versionHas a licenseScroll down to start reading the guide
Double-click the installation file ICMechanical_XX.XX.XX_X64_SWE.exe located in the \Downloaded Files folder.
Tick the license agreement, then press Install.

On some computers, this information may appear after you double-click the installation file. Then click More information.

Then click Run anyway.

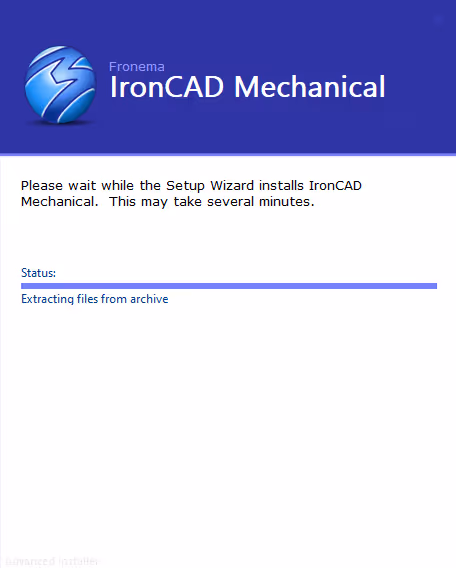
Installation has now begun. Wait until the installation process is complete.
If you get an error message after the installation process is complete, it may be because you have a space in your Windows username. Try unpacking the installation file manually by following the steps below. We have written how to do this in both Windows 11 and Windows 10.
This is for Windows 11
If the path to the folder that handles "My Documents" and "Downloaded Files" etc. contains a space in your username (\Firstname_space_Password\) you need to manually unpack the installation file, otherwise an error message will appear during installation. To unzip, you can for example use WinRAR/WinZIP or preferably the easy to use and compact 7-zip: https://www.7-zip.org/
Then you can right-click on the file you downloaded and choose Show more options

Then select 7-zip followed by Unzip to "IronCAD_DCS2023SP1_SWE\

Then run the installation file itself in the new folder by right-clicking on the *.exe file and selecting Run as administrator:

This applies to Windows 10
If the path to the folder that handles "My Documents" and "Retrieved Files" etc. contains a space in your username (\Firstname_Space_Password\) you need to manually unzip the installation file, otherwise an error message will appear during installation. To unzip, you can use WinRAR/WinZIP or the easy to use and compact 7-zip: https://www.7-zip.org/
Then you can right-click on the file you downloaded and choose to unzip it into a new folder which will be created automatically.

Then run the installation file itself in the new folder by right-clicking on the *.exe file and selecting Run as administrator:

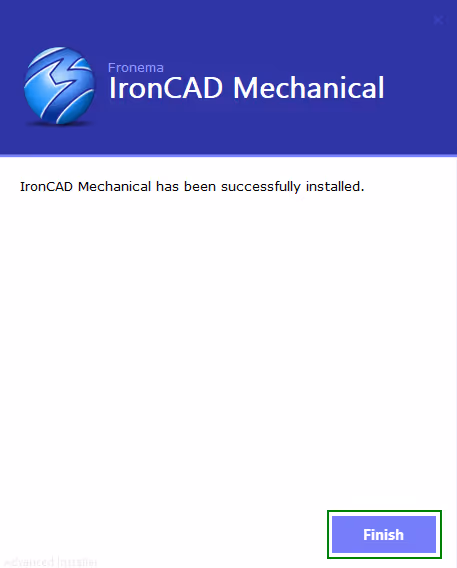
The installation is now complete. Now click Finish.
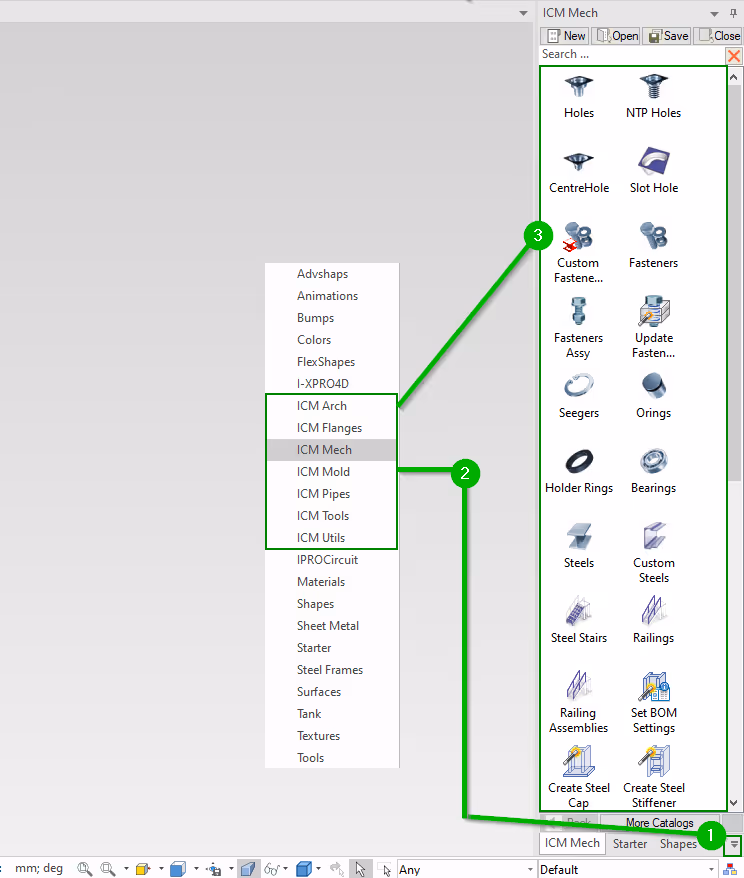
Start IRONCAD and look at the list of open directories to check that you can see the different ICM directories and their contents. The More Catalogs button shows the currently open catalogs.
Can't see any ICM catalogues?
Go to the Common tab, click on the Catalog Sets button. Select the IC Mech Catalogs option and click on the Open button - this will directly open up all catalogs belonging to IC Mechanical.
Tips!
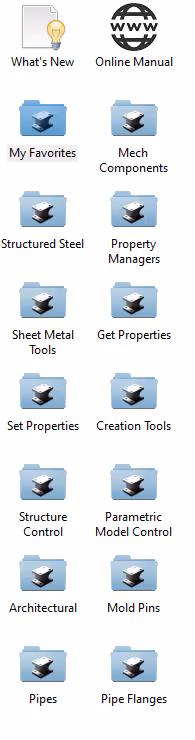
If you choose to open the ICM Add-on directory instead, all functions are collected in one directory, but grouped in different blue folders(Groups):
The installation of IC Mechanical is now complete. In demo mode you can now try the extension for 30 days.
If you have an active support contract, you may need to activate your license. However, many of the basic features do not require a license, such as fasteners and other standard components (screws, nuts, threaded holes and beams, etc.).