

Looks like you don't have ESC button on your device
Download IronCAD DCS
Choose one of the following options
trial versionHas a license
Looks like you don't have ESC button on your device
Choose one of the following options
trial versionHas a licenseScroll down to start reading the guide
Start by downloading this software:
Double-click the downloaded file IC_Network_DongleManager_Setup.exe to start the installation.
If you get an error message after the installation process is complete, it may be because you have a space in your Windows username. Try unpacking the installation file manually by following the steps below. We have written how to do this in both Windows 11 and Windows 10.
This is for Windows 11
If the path to the folder that handles "My Documents" and "Downloaded Files" etc. contains a space in your username (\Firstname_space_Password\) you need to manually unpack the installation file, otherwise an error message will appear during installation. To unzip, you can for example use WinRAR/WinZIP or preferably the easy to use and compact 7-zip: https://www.7-zip.org/
Then you can right-click on the file you downloaded and choose Show more options

Then select 7-zip followed by Unzip to "IronCAD_DCS2023SP1_SWE\

Then run the installation file itself in the new folder by right-clicking on the *.exe file and selecting Run as administrator:

This applies to Windows 10
If the path to the folder that handles "My Documents" and "Retrieved Files" etc. contains a space in your username (\Firstname_Space_Password\) you need to manually unzip the installation file, otherwise an error message will appear during installation. To unzip, you can use WinRAR/WinZIP or the easy to use and compact 7-zip: https://www.7-zip.org/
Then you can right-click on the file you downloaded and choose to unzip it into a new folder which will be created automatically.

Then run the installation file itself in the new folder by right-clicking on the *.exe file and selecting Run as administrator:

Then click Next> to continue.

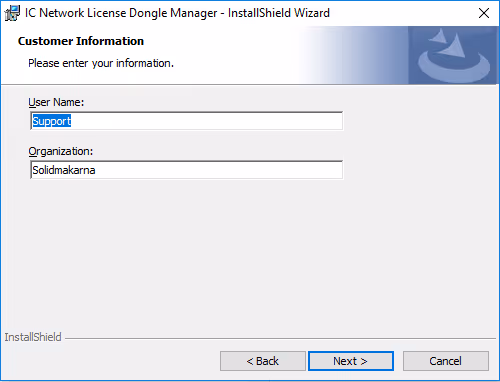
Enter name and company. Then click Next>
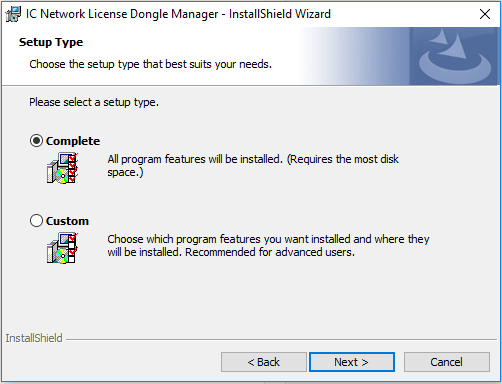
Select the Complete option and click Next>
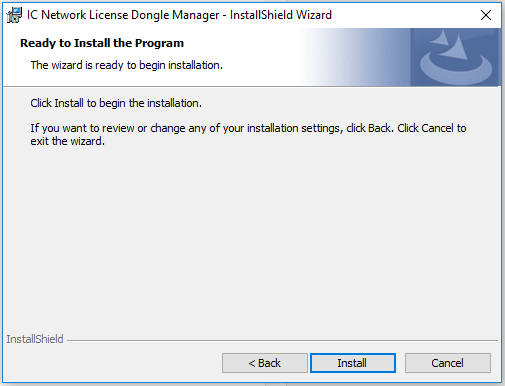
Then click Install>
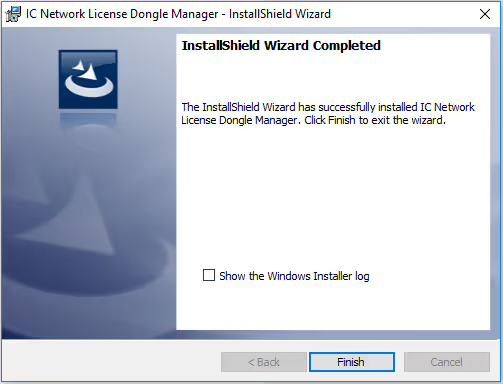
Click Finish> to complete the installation.
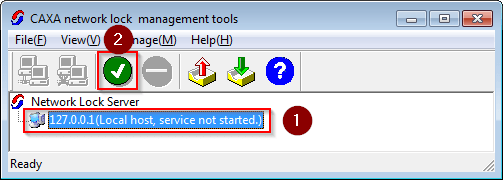
Go to Windows Start Menu > IRONCAD> Open CAXA Network Lock Management Tool.
Select the IP address (1) and click on the green check mark (2) to start the license distribution.
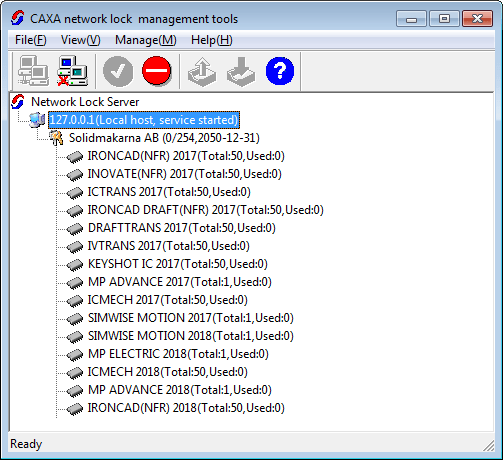
The license for the program is now distributed and ready to use.
Go to: C:\ProgramData\CAXA and open the file e4ncli.ini
At HOSTADDR, type the IP address of the license server.
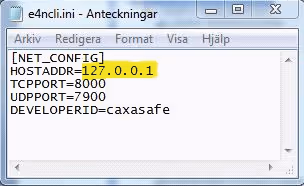
Then select File>Save and you can close the window.
Now the licenses are ready to be used!