

Looks like you don't have ESC button on your device
Download IronCAD DCS
Choose one of the following options
trial versionHas a license
Looks like you don't have ESC button on your device
Choose one of the following options
trial versionHas a licenseScroll down to start reading the guide
Double-click on the installation file to start the installation

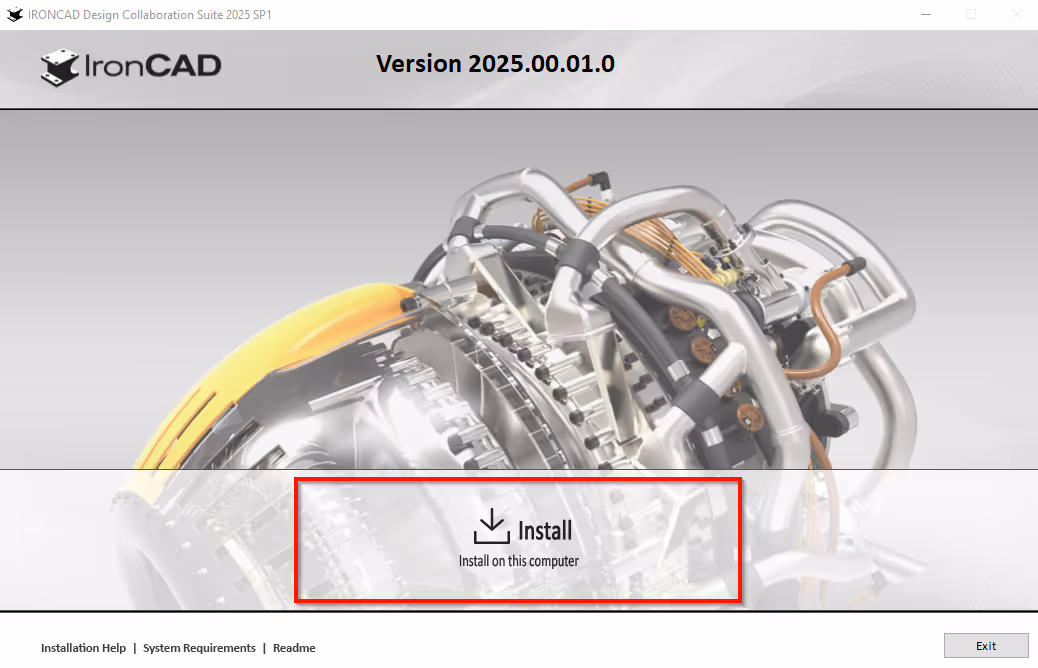
Now choose to start the installation by clicking Install.
If you get an error message after the installation process is complete, it may be because you have a space in your Windows username. Try unpacking the installation file manually by following the steps below. We have written how to do this in both Windows 11 and Windows 10.
This is for Windows 11
If the path to the folder that handles "My Documents" and "Downloaded Files" etc. contains a space in your username (\Firstname_space_Password\) you need to manually unpack the installation file, otherwise an error message will appear during installation. To unzip, you can for example use WinRAR/WinZIP or preferably the easy to use and compact 7-zip: https://www.7-zip.org/
Then you can right-click on the file you downloaded and choose Show more options

Then select 7-zip followed by Unzip to "IronCAD_DCS2023SP1_SWE\

Then run the installation file itself in the new folder by right-clicking on the *.exe file and selecting Run as administrator:

This applies to Windows 10
If the path to the folder that handles "My Documents" and "Retrieved Files" etc. contains a space in your username (\Firstname_Space_Password\) you need to manually unzip the installation file, otherwise an error message will appear during installation. To unzip, you can use WinRAR/WinZIP or the easy to use and compact 7-zip: https://www.7-zip.org/
Then you can right-click on the file you downloaded and choose to unzip it into a new folder which will be created automatically.

Then run the installation file itself in the new folder by right-clicking on the *.exe file and selecting Run as administrator:

Choose to accept the license agreement by clicking I Accept, then click Next.

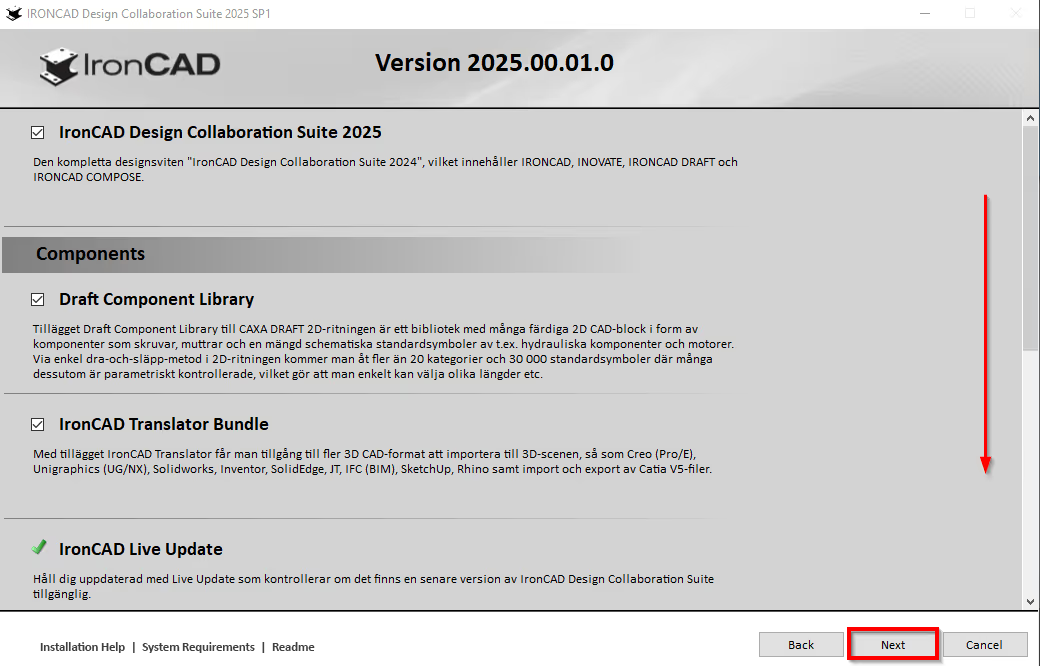
Here you choose which extensions will be installed with IronCAD DCS. Scroll down the list to see all extensions. Remove an extension if you wish by clicking on the checkbox to the left of the extension.
Then click Next.
A) Select Standard installation, ISO, metric units to run a standard installation. You can by selecting "Custom installation..." you can change the installation path. Click on Install to start the installation without customising it.
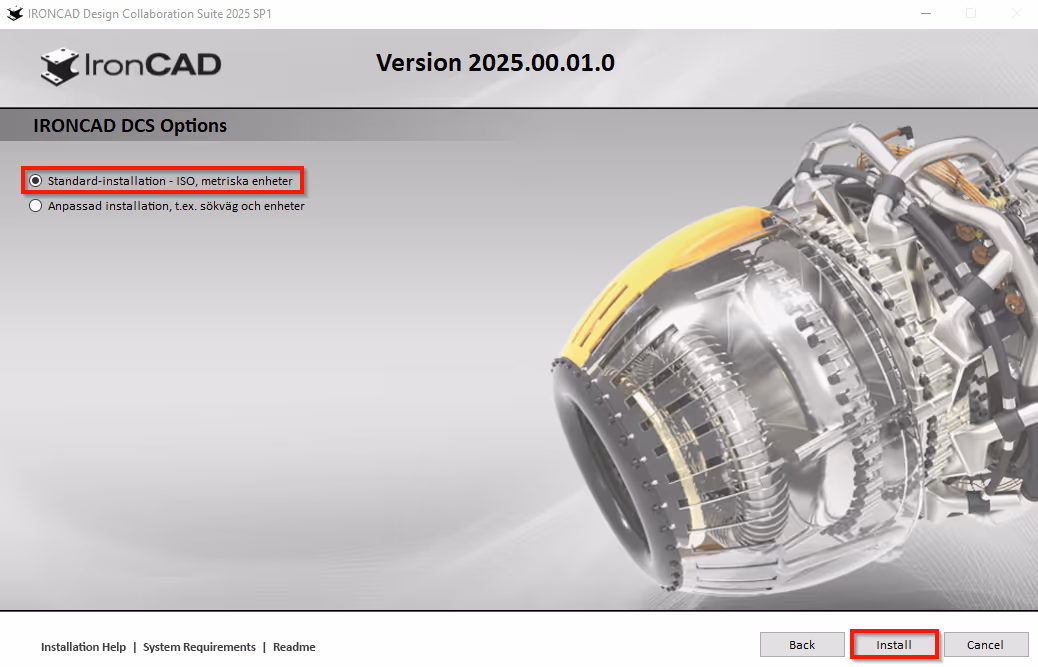
When selecting "Custom installation", you can, among other things, change the installation path. Click Install to begin the installation.

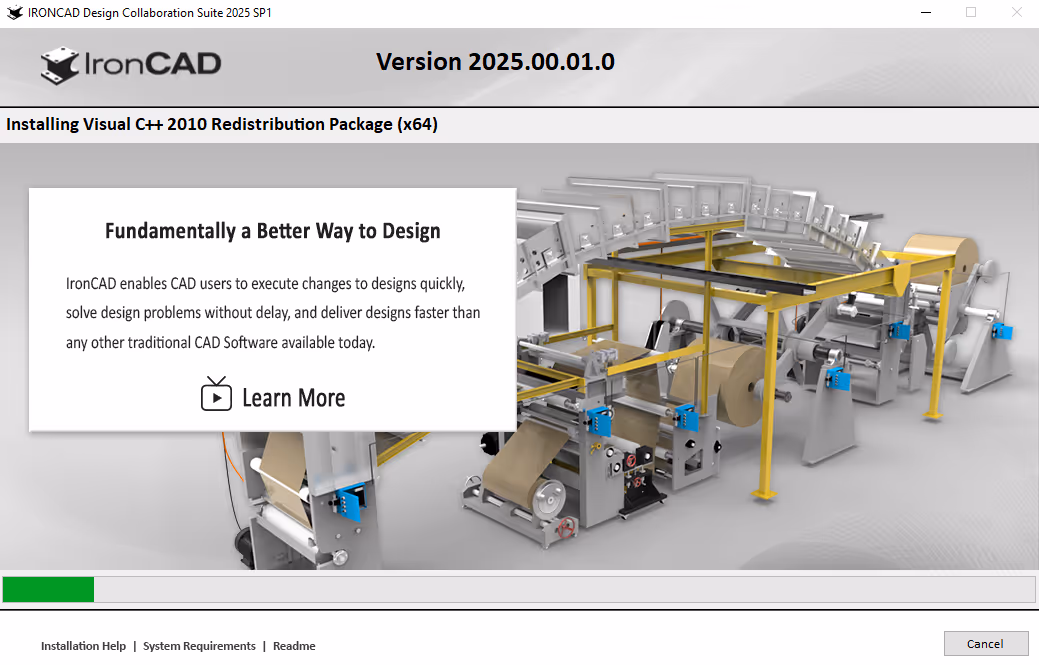
The installation of IronCAD DCS has now started. In this mode you do not need to make any selection.
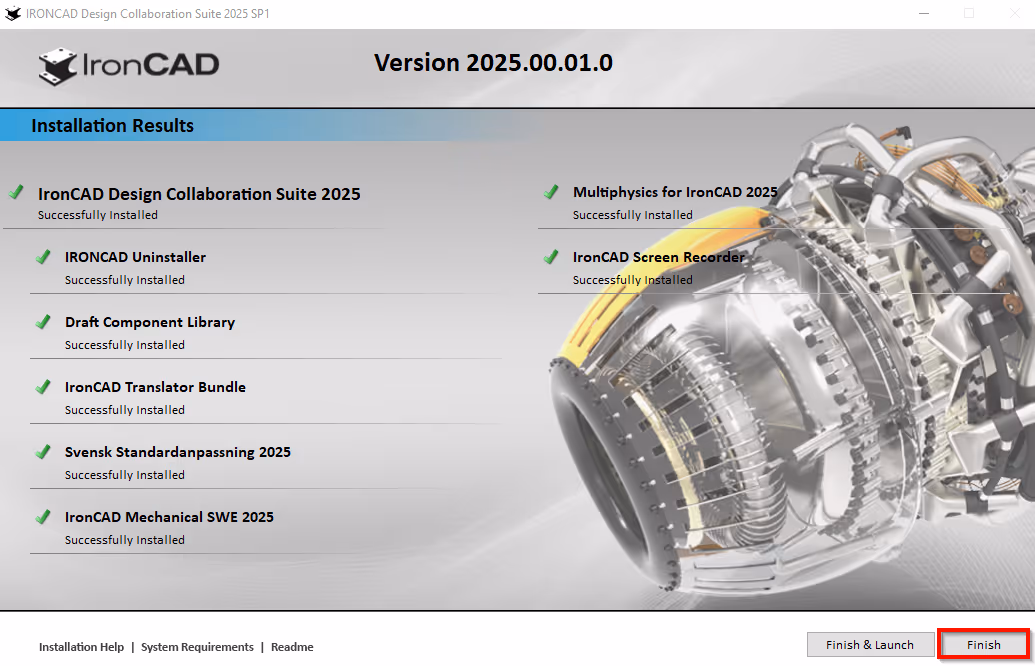
Now IronCAD DCS and its extensions are installed. Now press Finish.
NOTE! Avoid taking Finish & Launch if you have run the installation file as administrator.
Have you installed IronCAD DCS to try it for free for 30 days?
Click here to view a guide on how to do this.
Are you an existing customer?
Now just double-click on the desktop icon or via the Windows Start menu to launch IRONCAD 2025.
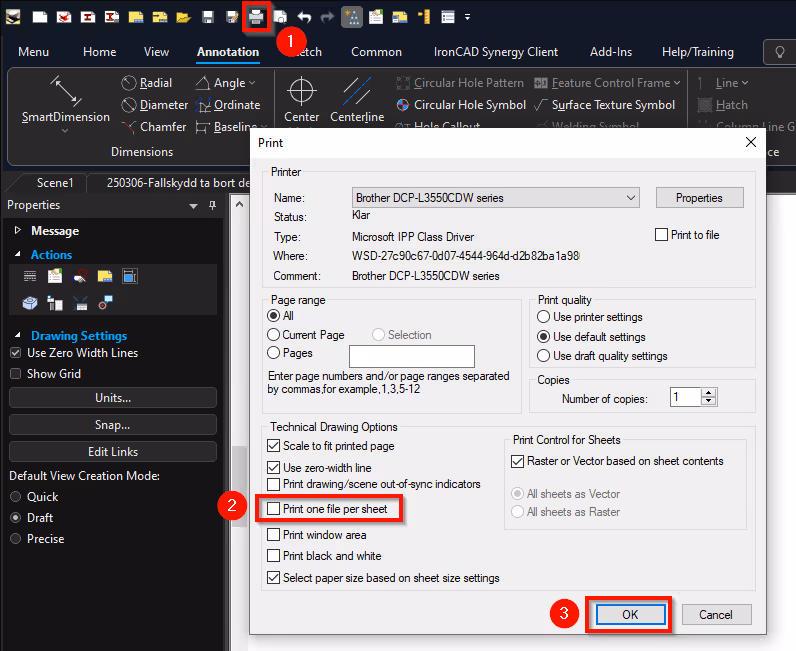
Some of our users have problems printing ICD 2D drawings in IRONCAD 2025. It is possible to print to PDF but not to a regular printer. Go up to printer settings, then uncheck Print one file per sheet followed by Ok.
The drawing can then be printed.
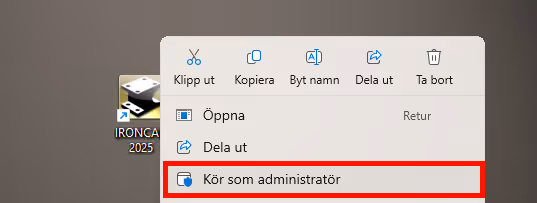
If you experience problems with adding views in *.icd, you can right-click on the desktop icon for IRONCAD and select Run as administrator(it is sufficient that you do this only once and not every time you start):
Let the program start as usual. Once it has started, close it down again. Then you can start the program in the usual way by double-clicking on the desktop icon (as a normal user).
Here are some tips on some basic settings(Options) that you may want to adjust. Of course, it differs depending on how you are used to working.
You can access IRONCAD's global settings (file independent) from several different places in the program. Some of the settings discussed below will only take effect when you create a new 3D scene. So make sure you do not have any file open.
Then go to Menu > Options.

General, Precision displayed in dialogs (number of decimal places)
This controls how many decimal places are displayed on dimensions in dialogs and when dragging handles in the 3D scene. We recommend using a decimal place or two more than the precision you have during manufacturing. This ensures that you have full control over how the system rounds off. Keep in mind that the 2D drawing has its own settings per drawing template and that an exported "solid" 3D model carries the precision of the file format used.

General, Enable camera Look At during editing
This setting is now turned off by default, which means that the cross section does not turn up perpendicular to the camera during editing. If you want the camera to always reverse its orientation (perpendicular to the plane) when editing the sketch - enable this setting again.

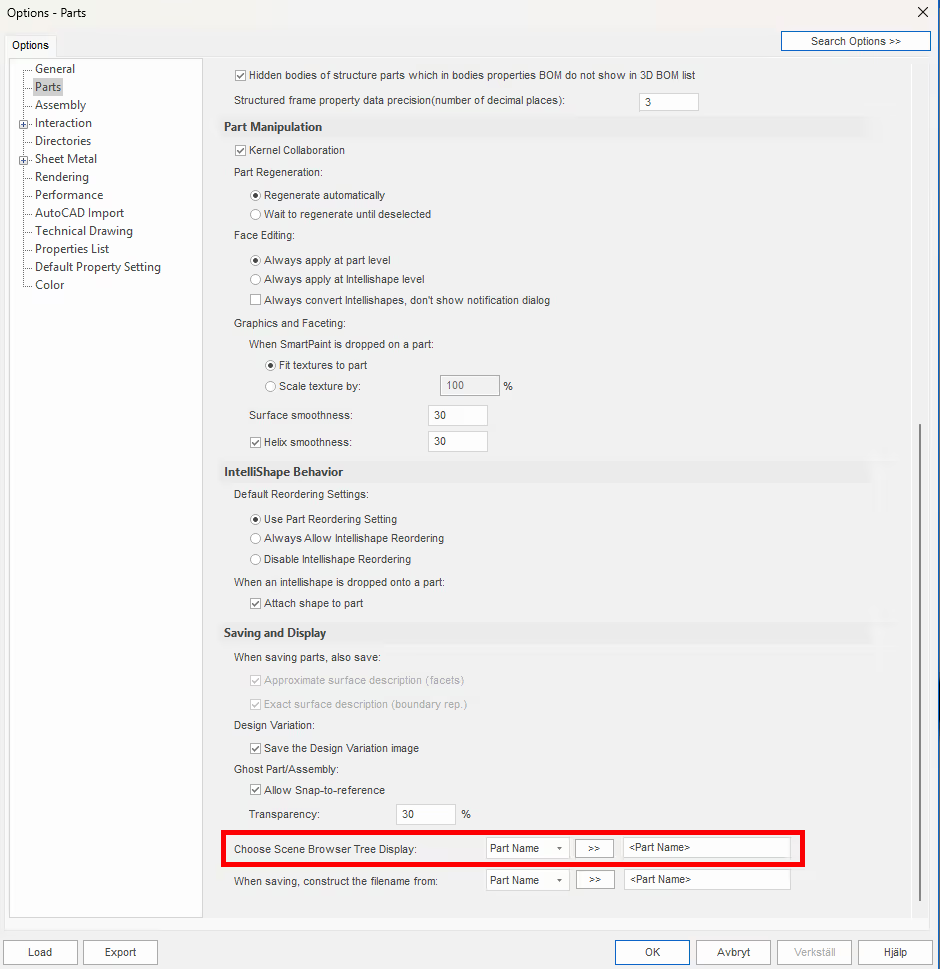
Parts, Choose Scene Browser Tree Display
This controls how you want the name in the tree to be set up and has changed with v2025. You can now include section characters such as dashes etc. between the values shown in the name in the tree.
T.ex. <Part Number> - <User Name> där Part Number är "250303" och User Name är "Benämning", visar värdet "250303 - Benämning".
Interaction, Show TriBall Activator Icon
Many people find that this blue TriBall icon gets in the way more often than it does good, especially since the tool is easily accessed with the keyboard shortcut [Q] or via right-click. In that case, please turn off the display of the icon permanently here. Read more on our support blog.


Directories, Use last open directory as working directory
Each time you open and save files, the path changes with this setting active. If you always want the same path, turn this setting off.

Rendering, Advanced OpenGL/Direct3D
We have noticed that some people have had problems with the graphics in Windows 11, which in several cases have been remedied by switching to OpenGL2. Since DirectX is developed by Microsoft, it "should" be the best option for Windows, but we have several times seen it work the other way around.
We also recommend reading this post as this may differ from user to user: https:ironcad
